How to Get a Driving License for Expats in Riyadh (2026 Guide)
Step-by-Step Guide to Get Saudi Driving License for Expats in Riyadh
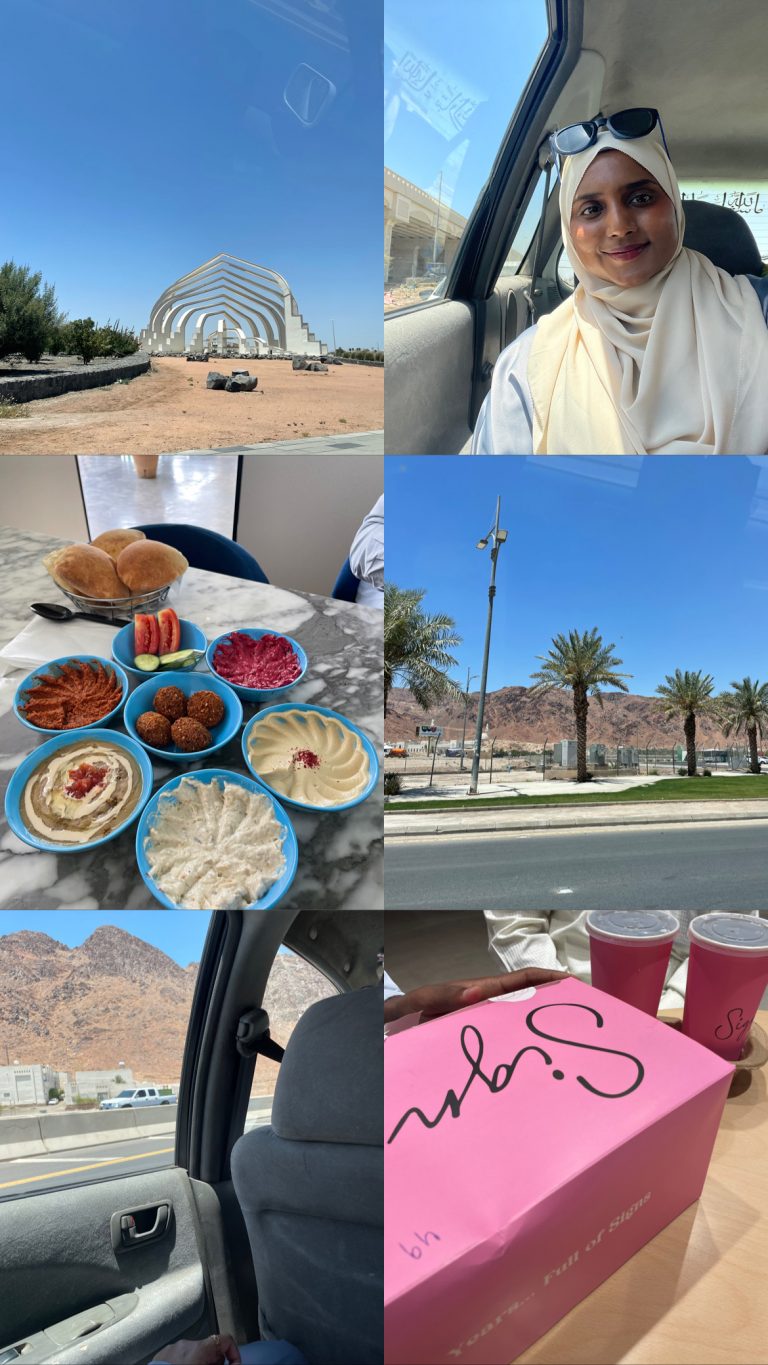
If you have just moved to Saudi Arabia, you have probably realized that getting around without a car is tough.
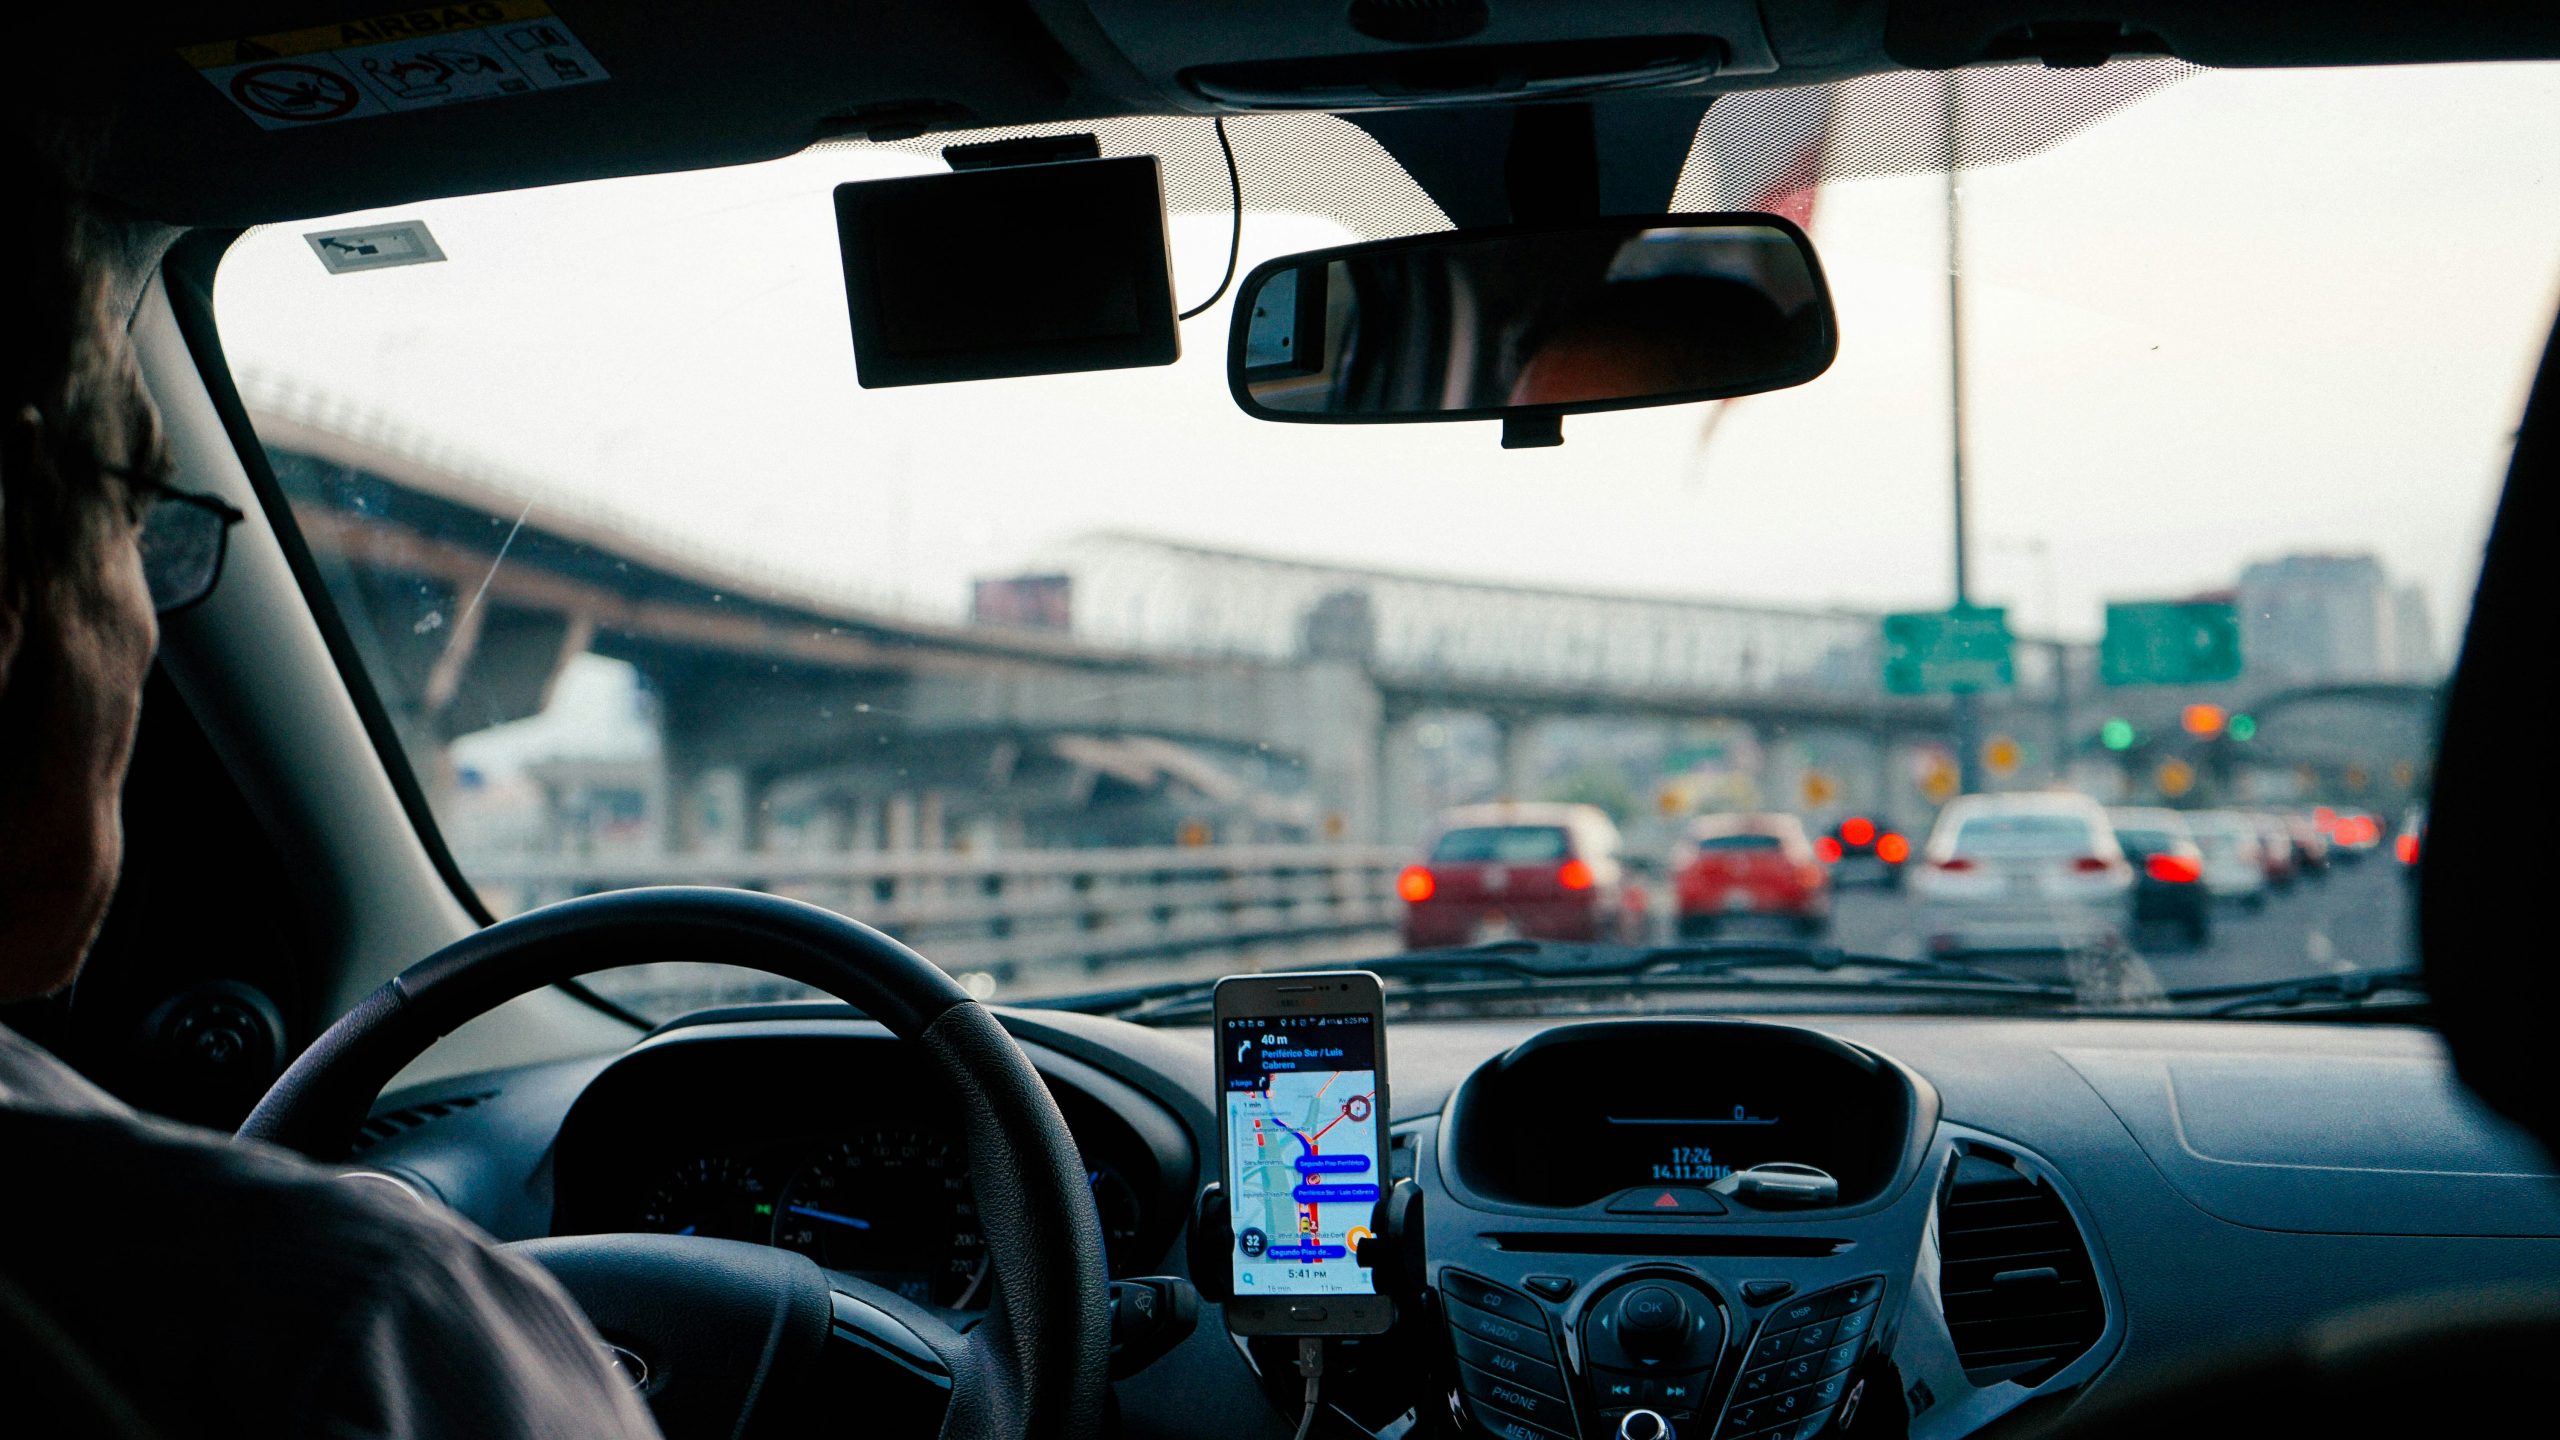
And as I broke down in my article on cost of living in Riyadh, relying solely on Uber can drain your budget fast.
My husband and I have lived in Riyadh for a year and we have figured out how to get the driving license here. In this article, I will guide you the step-by-step process on how you can get your driving license in Riyadh, Saudi Arabia.
Direct License Exchange: Can You Skip the Test?
If you already have a valid driving license from the UK, the USA, the European Union, or any GCC country (like Bahrain or UAE), you might not need to take a test at all. Saudi Arabia allows citizens and residents with licenses from these places to do a Direct Exchange.
If this applies to you, your process is very short. You just need to log into Absher, book an appointment under “Replace a driving license,” and show up at the main Traffic Office (Muroor) with your foreign license and a translation. They will check it, you will pay the fee, and they will print your Saudi license right there.
If you do not have a license from those specific countries, or if your license has expired, you have to go the long way. Don’t worry, as it is manageable if you follow the steps below.
Step 1: Requirements and Required Documents
You cannot just walk into a driving school and ask to sign up. If you try that, the security guard will likely turn you away at the gate. You need to have your digital paperwork ready first.
You need to be at least 18 years old and you must have your Iqama. If you are here on a visit visa, you cannot get a local license. You have to stick to driving with your international license or your home country license.
Step 2: Absher Registration & Appointment Booking
You absolutely must have an active Absher account. If you haven’t set this up yet, check out my guide on Must-Have Apps for Expats to get registered first.
Absher is the government portal for everything in Saudi Arabia. You cannot start the driving license process without it.
Open the Absher app or website. Go to the “Appointments” tab and look for “Traffic.” Do not go to the “License” section yet; you want the Traffic section.
Click on “Proceed to Service” and look for the option that says “Training in Driving Schools.” In some versions of the app, it might be called “Evaluation of Driving Skills.” It is the same thing.
You will see a list of regions. Pick the one you live in. Then you will see the driving schools available to you.
For me, you will usually pick Dallah Driving School or a similar large center.
For women, you might see Saudi Driving School at Princess Noura University, Sidra, or others depending on your city.
Pick a time and date that works for you.
Pro Tip: Print the appointment confirmation. I know everything is digital these days, but the security guards at driving schools are very strict. If you do not have the piece of paper showing your appointment reference number, they might not let you inside the compound.
Step 3: The Initial Placement Assessment
This is the most important day of the whole process. This day determines how much money you will spend and how long you will be stuck in training.
When you go to the driving school for your appointment, you are not there to start lessons. You are there to prove you already know how to drive.
You will pay a small fee and then an instructor will take you to a car. You will drive for maybe two or three minutes around the school yard. The instructor is watching to see how safe you are.
Three Training Tracks (Costs & Hours)
- Beginner Level: If you look like you have never driven before, they will assign you 30 hours of training. This costs about 2,760 Riyals.
- Intermediate Level: If you can drive but you make mistakes, they will give you 15 hours. This costs about 1,466 Riyals.
- Advanced Level: If you drive confidently and safely, they will give you 6 hours. This costs only about 690 Riyals.
How to Get the 6-Hour Course
You want the 6-hour course. To get it, you need to drive like a robot.
- Put your seatbelt on before you even turn the key.
- Adjust the rear-view mirror and the side mirrors visibly. Move your head so the instructor sees you doing it.
- When you move the car, use your indicators for every single turn.
- When you stop, come to a complete halt. Do not do a “rolling stop.”
- Check your blind spots. Actually look over your shoulder when you change lanes or turn.
If you do these things, the instructor will likely mark you as “Advanced.” You save 2,000 Riyals and weeks of time.
Step 4: Theory Training and Computer Test
Once you pay your course fee, you start with the theory.
In the past, you had to sit in a classroom for hours. Now, many schools let you watch videos online at home. You will learn about road signs, the points system, and right-of-way rules.
After you finish the videos, you have to go back to the school to take a computer test.
The test usually has 30 questions. You need to get roughly 24 of them right to pass. The questions are multiple choice.
Language Tip: You can choose the language of the test. I strongly suggest you choose English. Sometimes the translations for other languages like Urdu or Bengali can be a little strange or hard to understand. The English used in the test is usually simple and clear.
If you fail this test, it is not the end of the world. You just pay a re-test fee of about 86 Riyals and come back another day. But if you pay attention to the signs in the videos, you should pass easily.
Step 5: The Efada Medical Examination
At this stage (or sometimes required earlier depending on the specific school’s workflow), you must get your medical sorted.
You cannot just go to any doctor. You must go to a clinic, hospital, or optical center that is listed on the “Efada” system. This system links the hospital directly to the Ministry of Interior.
What Happens at the Exam?
- Vision Test: They check your eyesight to make sure you can see the road (and if you need glasses to drive).
- Blood Type: They prick your finger to confirm your blood type, which gets printed on your license.
- General Health: A quick check to ensure you are fit to drive.
You do not need to carry a paper certificate back to the police station. The results are sent electronically to the Muroor (Traffic Department) database. You will usually get a text message on your phone that says “FIT.” Once you get that SMS, the system knows you are cleared.
Step 6: Practical Driving Training
After you pass the computer test, you start the actual driving lessons. You will book these hours through the school reception or their app.
If you got the 6-hour course, you will probably finish this in two or three days. You will drive around the training yard with an instructor in the passenger seat.
They will teach you specific skills that you need for the final exam.
- Parking: This is the big one. You will practice parallel parking (backing into a space between barriers) and reverse parking (backing into a garage space).
- The Figure-8: You have to drive through a narrow figure-8 shape without your tires touching the yellow lines or cones.
- The S-Curve: Similar to the figure-8 but wider.
- Emergency Braking: The instructor will tell you to speed up and then yell “Stop!” to see if you can brake hard without losing control.
Use this time to ask questions. If you are struggling with the parallel parking, ask the instructor to let you do it five or six times in a row. That is what you are paying for.
To note:
When you sign up, you have to choose between “Manual” (stick shift) or “Automatic.” If you choose Automatic, your license will have a restriction on it.
It will say “Automatic Only” (Code 1). You are not legally allowed to drive a manual car.If you take the test in a Manual car, your license lets you drive both types.
Step 7: Final Road Test & Passing Tips
This is the final hurdle. You have finished your hours, and now you have a date for the real test.
You will sit in a car with a traffic police officer or a senior examiner. Usually, there are three or four other students in the back seat waiting for their turn.
When it is your turn, the officer will tell you to drive.
- Be Confident: Do not drive too slowly. If the speed limit is 40, drive close to 40. Driving too slow can actually make you fail.
- Listen Carefully: The officer might try to trick you. He might say “turn left here” when there is a “No Left Turn” sign. Always look at the signs before you obey the instruction.
- The Parking Test: After the drive, he will ask you to park. This is usually where people fail. Take your time. Line up your mirrors. It is better to be slow and correct than fast and crooked.
If you pass, the officer will sign your paper or update the result on his tablet. If you fail, he will tell you that you need more training hours. You will have to pay for 4 more hours of training before you can try again.
Pro Tip: Try to book your final test in the morning or early afternoon. The printing office usually closes around 9:00 PM. If you take a late test (like 8:00 PM) and there is a delay, the office might close before you get your card, and you’ll have to come back the next day.
Step 8: License Fees and Printing
Congratulations, you passed. Now you just need to pay the government fee to get the card.
Open your bank app on your phone. Go to “SADAD” or “Government Payments.” Look for “Driving License” and then “Issue License.”
You enter your Iqama number and choose how long you want the license for.
- 2 Years: 80 Riyals
- 5 Years: 200 Riyals
- 10 Years: 400 Riyals
Most people just pay the 400 Riyals for 10 years so they do not have to worry about it again for a decade.
Once the payment goes through, walk to the printing room at the driving school. There is usually a specific counter for this.
You hand them your old foreign license (if you have one) and your residency card.
They will take a minute to check the system, and then they will print your new Saudi driving license right in front of you.
Quick Recap: Your Saudi License Checklist
Here is a quick recap so you do not forget anything:
- Check Eligibility: Confirm you have your Iqama, photos, and translations ready.
- Book Appointment: Log in to Absher, book your slot, and—most importantly—print the confirmation ticket.
- Placement Assessment: Drive carefully during the first visit to secure the cheaper 6-hour track.
- Theory Test: Watch the videos and pass the computer exam (English language recommended)
- Medical Exam: Visit an Efada clinic and get the “FIT” SMS notification
- Practical Training: Complete your assigned driving hours (parking, S-curve, etc.)
- Final Road Test: Stay calm, obey traffic signs, and pass the final drive
- Pay & Print: Pay the fee via your banking app (SADAD) and collect your printed license card immediately.
It seems like a lot of steps, but it is very linear. You just do one thing after the other.